Installing Shell-GPT SGPT (ChatGPT) on Kali for Hacking - AI ChatGPT powered hacking
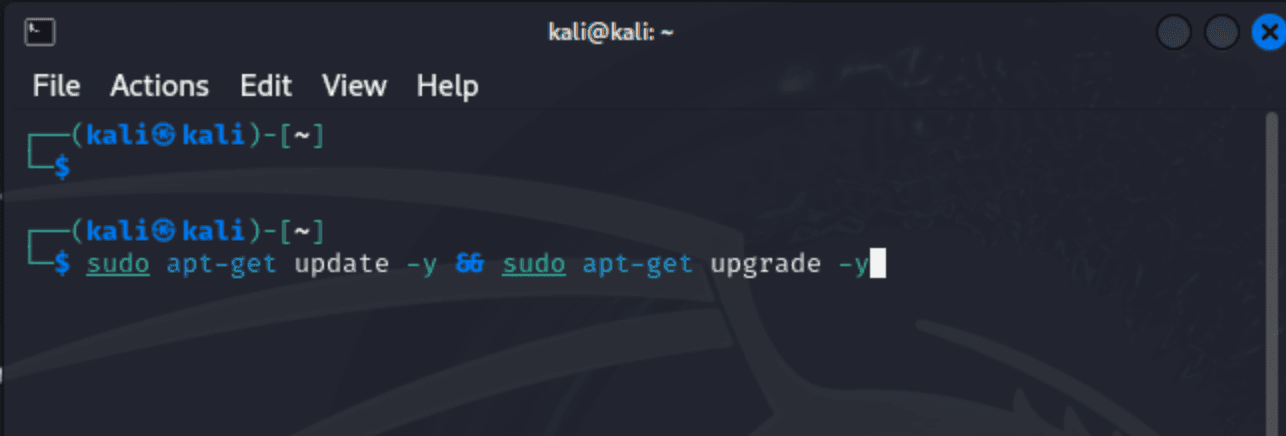
The first step is to update your system. Assuming you have a relatively new build of Kali and a simple apt-get update and upgrade command, it should work fine here.
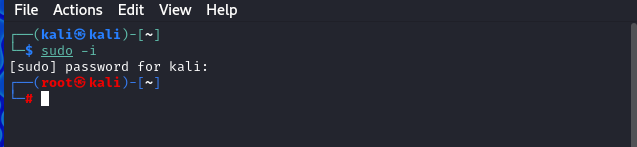
Before you get started I recommend switching to root by issuing the command:
sudo -i
Step 1:
apt-get update -y && apt-get upgrade -y
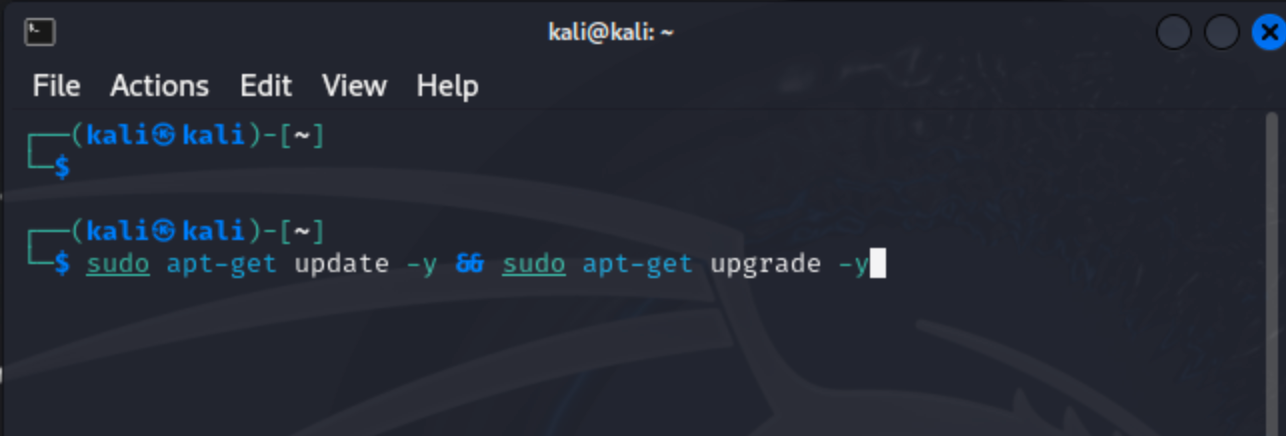
Next, we want to make sure Python 3 is installed. In all likelihood, this has already been installed on your system. However, rerunning the command should not hurt anything.
Step 2:
sudo apt-get install python3 -y

In step 3, we will install PIP3. PIP and PIP3 are tools for installing and managing Python packages from the Python Package Index (PyPI). They function similarly but are used for different versions of Python.
Step 3:
sudo apt-get install python3-pip

In my case, PIP3 was already installed, so I got a message stating that 0 packages were updated and 0 packages were newly installed. That is okay; we are going to move on.
We will now install a program called JQ. JQ is a powerful command-line JSON processor for Linux, macOS, and other Unix-like systems. It allows users to parse, filter, manipulate, and output JSON data quickly and efficiently.
JSON is commonly used in APIs, configuration files, and logs. jq simplifies handling JSON data in automation, scripting, or when interacting with JSON-heavy outputs from tools like curl, aws-cli, or kubectl.
Step 4:
sudo apt install jq

Now, we are ready to install ShellGPT. I assume you have a good idea of what ShellGPT is at this point. If not, check out our introduction to ShellGPT at https://www.drchaos.com/post/understanding-sgpt-on-linux-when-how-and-why-it-outshines-chatgpt.
Step 5: (Read below before issuing the command)
The pip install --break-system-packages flag allows you to install Python packages into the system-wide Python environment, even when doing so might interfere with or "break" packages installed through your system's package manager (e.g., apt).
However, below is the quick, easy, and dirty installation method.
sudo pip3 install shell-gpt

You will need to log in (or create an account if you don't already have one) at https://platform.openai.com/.
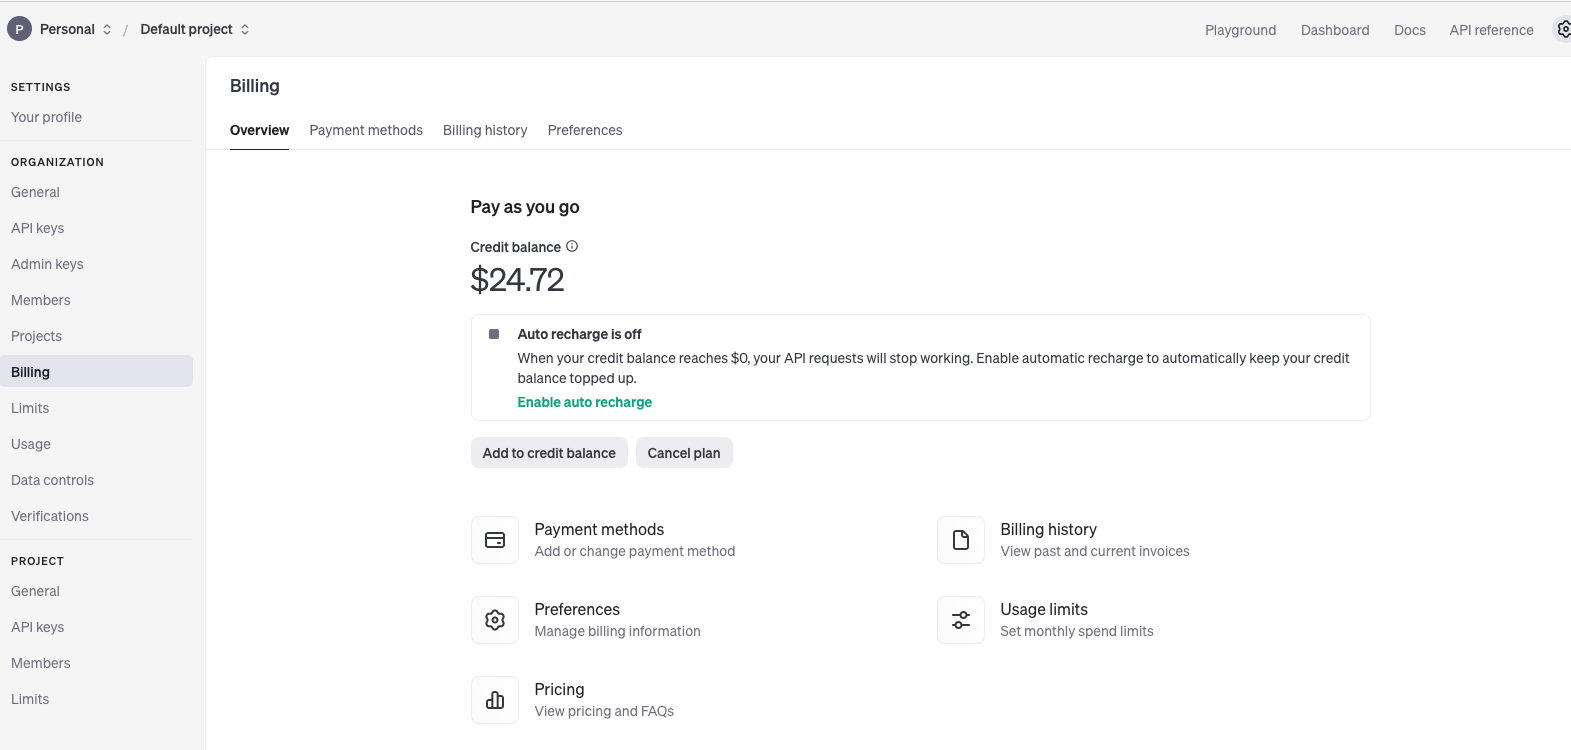
After you set up your account, click on your account name at the top right and go to your profile. You will then set up billing and limits to fund your account.
You will want to fund your account. As a beginner or hobbyist, $5 USD is more than enough for most people to get started. I would also recommend disabling auto billing/funding and setting limits. If you don't want any surprises, set up your account properly.
Step 6:
Create an OpenAI API key by going to https://platform.openai.com/api-keys.
If that link is not working, you should be able to go to your profile on OpenAI and then to API Keys, where you will create an OpenAI API Key.
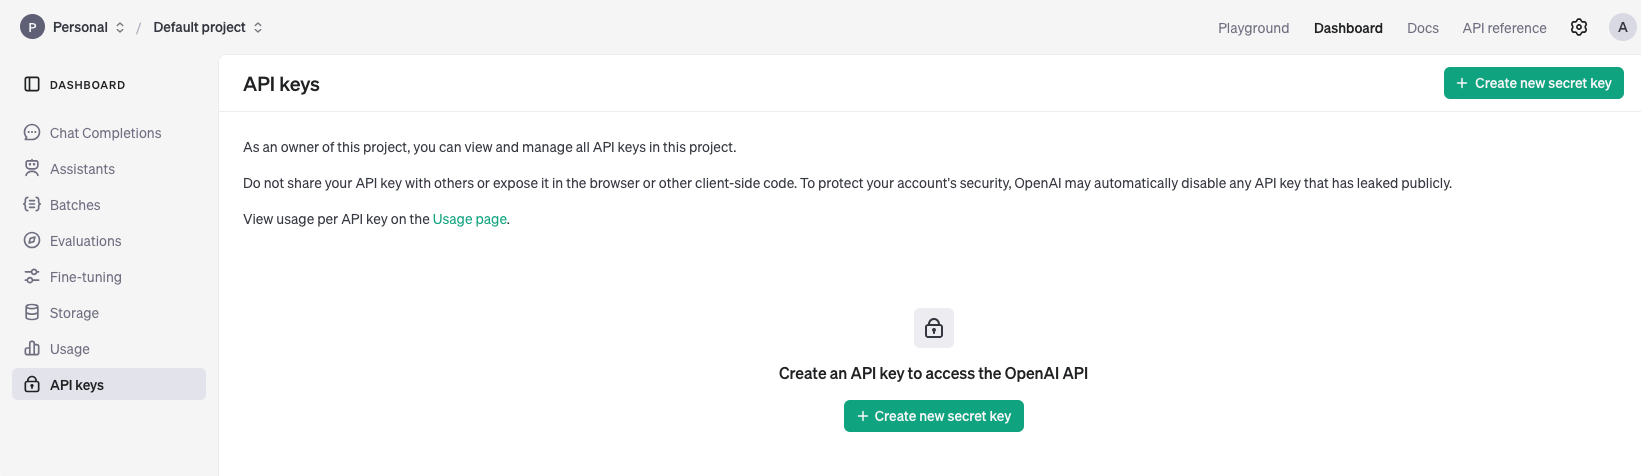
Step 7:
Copy the API key and save it to a safe place
Step 8:
You must then enter the API key on your Kali Linux box. Since it is an extended key, I recommend pasting it into the terminal. Copying and pasting can get tricky if you are using RDP, VNC, a virtual environment, or a remote lab. I recommend overcoming those challenges because typing it will be challenging (especially since what you type is not shown on the screen).
Back to your Kali Linux, open a terminal, and type:
sudo sgpt
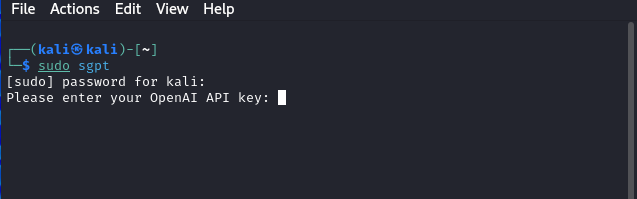
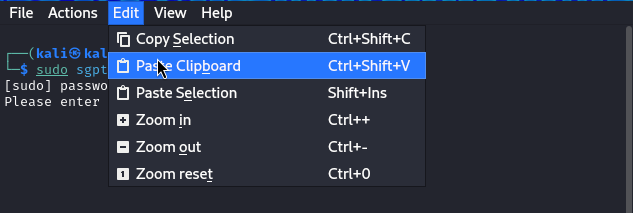
You will be prompted for the API key. If you copied it, paste it in. The screen will not show anything since the API key is not viewable here. I am using the terminal, so to keep things clean, I went to the edit menu and selected paste (after I copied the API key from my web browser).
NOTE: I used the web browser directly in Kali. The copy-and-paste may not work correctly if you use a web browser such as one on a host machine in a virtual or lab environment.
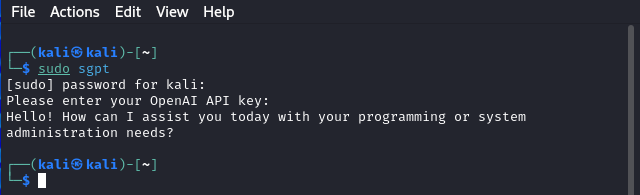
If successful, you will see a message that says, "Hello! How can I assist you today with your programming or system administration needs?"
Step 9: Using Shell-GPT (quick start - more details to come later)
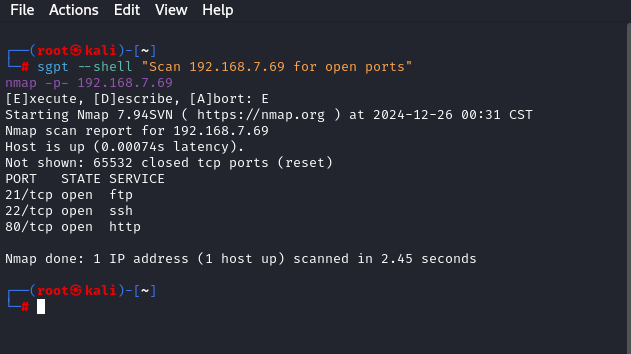
example 1: Scan for open ports
sgpt --shell "Scan 192.168.7.69 for open ports"
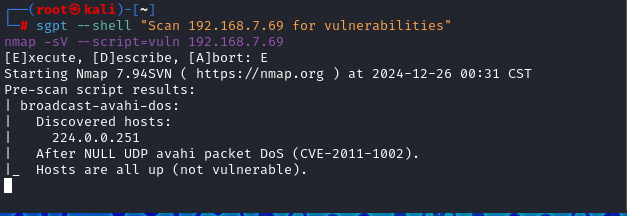
example 2: Scan for vulnerabilities
sgpt --shell "Scan 192.168.7.69 for vulnerabilities"
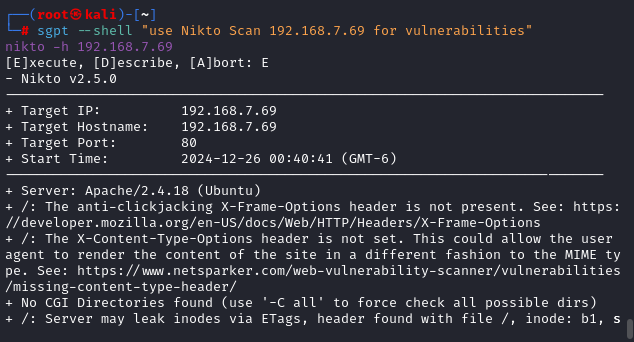
example 3: Use Nikto to scan for web vulnerabilities
These are just some super basic examples. With shell-GPT and a bit of knowledge, you can perform some complicated red team and pen testing scenarios. I will try to cover some advanced techniques in a future blog.
Cover art credit: https://pixabay.com/illustrations/hacker-computer-security-cyber-8198734/

Founder · Dr. Chaos
Aamir Lakhani is a leading senior security strategist responsible for providing IT security solutions to major enterprises and government organizations. He creates technical security strategies and leads security implementation projects for…